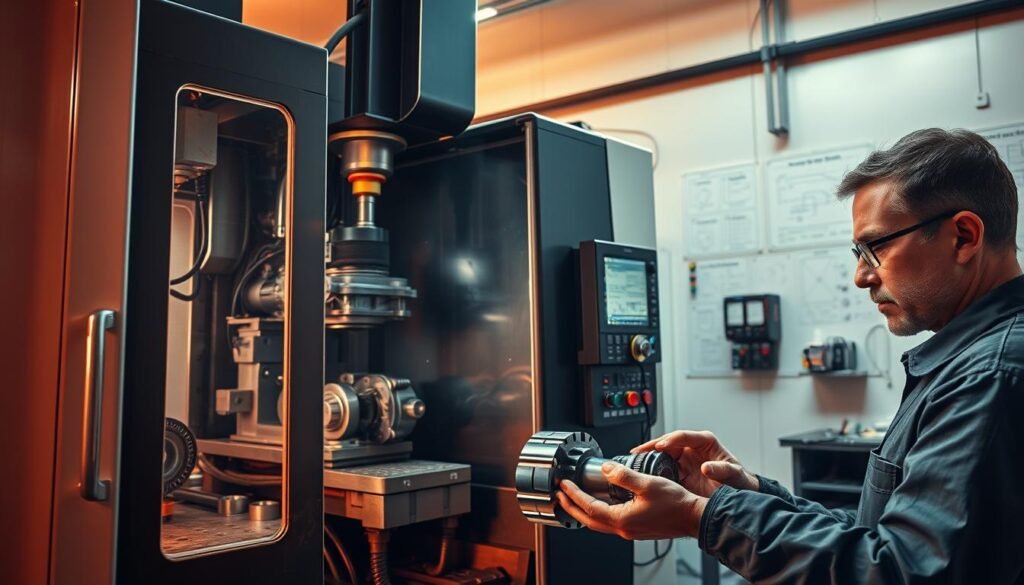
Why is accuracy vital in CNC machining? For us, being precise is the core of what we do. CNC machining lessens errors more than old ways of making things.
Even tiny mistakes can greatly affect the end product. That’s why we focus on keeping errors under 1%.
Our quality assurance for CNC is built to find and fix any wrongs quickly. We stick to strict quality control rules. We are dedicated to making reliable, state-of-the-art parts.
Key Takeaways
- Critical importance of CNC machining precision in reducing errors.
- Rigorous standards in quality control in CNC machining.
- Continuous advancements ensuring high reliability and cutting-edge technology.
- Significant reduction in error rate compared to traditional methods.
- Commitment to rigorous CNC quality assurance processes.
The Importance of Quality Control in CNC Machining
In precision engineering, quality control in CNC machining is vital. We follow strict CNC machining standards. This ensures every part performs well in its job. Our focus on reducing errors maintains our products’ integrity and reliability.
Minimizing Errors and Financial Losses
Quality control helps avoid costly mistakes. A lack of it can waste materials and time. By using quality control measures, we catch and fix mistakes early. This cuts waste and makes the best use of resources.
Ensuring Customer Satisfaction and Safety
Our customers’ happiness depends on our product quality. Strong quality control practices mean we meet and surpass expectations. Following strict CNC machining standards ensures our products are safe and reliable. This builds trust with our clients over time.

Key Parameters in CNC Machining Quality Control
We start high-quality CNC machining by pinpointing crucial quality parameters. Focusing on these ensures our products are precise, reliable, and satisfy our customers.
Dimensional Accuracy and Tolerance
Getting measurements right within set limits is crucial. We carefully measure parts to match the exact design specs. This prevents errors and makes assembly seamless.

Material Hardness and Strength
The strength of our CNC products is key. By checking the hardness and strength of materials, we make sure our parts last longer and perform better.
Surface Finish and Roughness
We check surface finish and roughness for both function and looks. A smooth finish lowers friction and wear, making parts last longer and look better.
Geometric Tolerance
It’s vital that parts fit perfectly in assemblies. We carefully check geometric tolerances to ensure every part meets design specs for flawless assembly.
| Quality Parameter | Measurement Criteria | Importance |
|---|---|---|
| Dimensional Accuracy | Within specified tolerances | Ensures component fits and functionality |
| Material Hardness | Hardness testing (e.g., Rockwell, Brinell) | Validates material integrity under stress |
| Surface Finish | Roughness measurement (Ra values) | Enhances durability and aesthetics |
| Geometric Tolerance | Compliance with design specifications | Ensures accurate assembly and function |
Steps in Our CNC Machining Quality Control Process
Our detailed quality control process ensures top industry standards. By adding CNC machining inspection steps, we guarantee our products are reliable and precise.
Raw Material Inspection
We start with a detailed raw material inspection. We check the materials’ quality and specs before we start making anything. This step is key to using only the best materials, which helps avoid defects and keeps our products consistent.
First Article Inspection
Then, we do the First Article Inspection on the first made part. It’s essential to check if this part meets all design and quality standards. We look at different things to be sure it’s up to the mark, setting the standard for the rest.
In-process Inspection
During the making process, in-process inspections are carried out. This lets us keep an eye on things and make changes as needed. Doing this quickly helps us avoid mistakes and makes sure the end product meets strict standards.
Final Inspection
The journey ends with a final inspection, highlighting final quality control. Here, inspectors thoroughly check the finished items to make sure they meet all quality standards before being sent out. This last step ensures our customers get nothing but the best.
Technologies and Tools for Quality Assurance in CNC Machining
We strive for top-notch precision and excellence in our work. We use many CNC quality assurance technologies and tools. This is to make sure every part we create lives up to the toughest quality checks.
Dimensional Measurement Tools
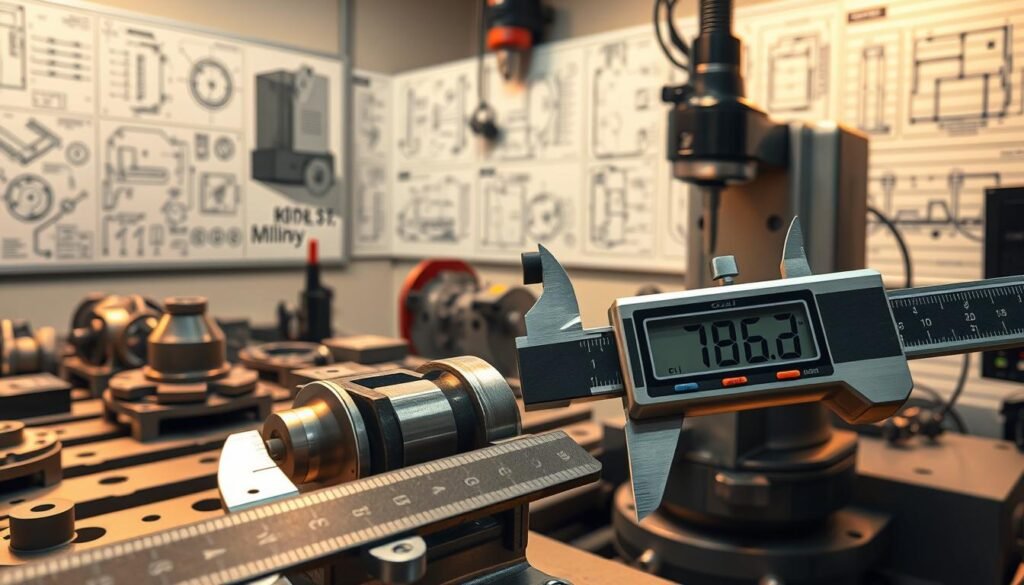
To get exact dimensions, we use different measuring tools. With calipers and micrometers, we make sure every part matches its design perfectly. Coordinate Measuring Machines (CMMs) give us very precise dimensional data.
Surface Roughness Testers
Getting the right surface finish is key in CNC machining. Our roughness testers check each part’s texture to meet our high standards. The surface finish and roughness standards for CNC parts are mostly kept at 125 μin. This careful check makes sure everything we make is consistent and dependable.
Non-Destructive Testing Methods
We use non-destructive testing to check inside parts without harming them. Tools like borescopes and Eddy Current Testing help us find any hidden flaws. This way, we keep every part’s quality top-notch without causing any damage.
Quality Control Software
Our quality control software lets us watch everything in real time and report in detail. With tools like Net-Inspect for First Article Inspection (FAI) and Qualis 4.0 for Process Control (SPC), our work is more streamlined. This software is key to keeping an eye on our quality assurance strategies, making our work more effective by always keeping track of quality standards.
Conclusion
In our journey towards CNC machining excellence, we’ve highlighted how crucial quality control is. It starts with checking the raw materials and ends with detailed final inspections. These steps ensure every part meets the top standards of precision CNC machining.
Our strict quality control measures mean better, more reliable, and longer-lasting products for our customers.
Thanks to modern technologies and tools, our inspections and tests are thorough. We check everything from size and strength to how smooth a surface is. Our goal is to always exceed industry standards.
This way, every product we make lasts long and meets the highest CNC machining quality benchmarks.
We are always improving and innovating to stay leaders in the CNC machining world. Our focus on quality control means we aim to do better than just meet standards. We want to ensure customer happiness and safety.
By using advanced techniques and the latest tools, we promise excellence in every project.
FAQ
What is the error rate in CNC machining compared to traditional methods?
In CNC machining, accuracy is crucial. CNC methods reduce errors far more than old ways, often to below 1%. This precision matters a lot. Even tiny mistakes can greatly affect the final product.
How do you implement continuous quality control measures during CNC machining?
We always check quality to catch any issues early. This means every part we make meets high standards. It shows our dedication to reliable, advanced manufacturing.
Why is quality control essential in CNC machining?
Quality control is key for making sure every part works perfectly. Without it, errors could lead to big losses. That’s why we watch every step closely.
What key parameters do you focus on in your quality control process?
Our quality control checks many important areas:
- We make sure each piece is the right size and shape.
- We test materials to ensure they’re strong enough for use.
- We check how smooth and nice-looking each part is.
- We verify that parts match the designs exactly.
Can you describe the steps in your CNC machining quality control process?
Sure, our process has several steps:
- Checking the materials before we start.
- Inspecting the first part made for quality.
- Keeping an eye on production to spot issues early.
- Doing a final check before sending things to customers.
What technologies and tools do you use for quality assurance in CNC machining?
We use many tools and technologies:
- Measuring tools, like calipers, to get accurate sizes.
- Tools to examine how smooth surfaces are.
- Methods that find hidden flaws without damage.
- Software that helps us monitor and report on quality.


