Need a custom holder or guide for a part and can’t wait weeks for a machined one? 3D printed jigs and fixtures can often be made in-house in hours, cost far less, and are easy to revise.
The wider picture is covered in the guide to 3d printing for manufacturing, and this page goes deeper on shop-floor tooling.
| Item | Value |
|---|---|
| Machined custom jig, lead time | Two to three weeks |
| Machined custom jig, cost | Upwards of $1,000 |
| Same jig 3D printed, print time | A few hours |
| Lead-time cut reported for printed tooling | Up to 90-95% |
| Printed tool cost (Ultimaker estimate) | Around $10 to produce |
These figures come from Formlabs’ metalworking white paper and Ultimaker’s jigs and fixtures page. Both are printer makers’ own material and the numbers can change, so check the source before you rely on them.
What jigs and fixtures do on the shop floor
A jig holds the workpiece and also guides the tool, so alignment stays correct and the tool does not wander or cause damage. A fixture only holds the part firmly in place while a secondary process acts on it. Clamps, jaws, vises and chucks are all fixtures in this sense, according to Formlabs’ guide to making your own jigs and fixtures.
The same guide says they are commonly used in processes like welding, drilling, molding and assembly. Because each one is shaped around a particular part, one standard machine can serve many different products.
Aids supplied with a machine are usually standardised. They tend to be heavier, bulky metal pieces that can be awkward to handle and may not fit every product you later build, as Formlabs notes. That gap is where printed tooling earns its place.
Why print them instead of machining them?
Speed and cost are the main reasons. Formlabs says a custom jig that might take two to three weeks and cost upwards of $1,000 to machine can most likely be printed in a few hours for a fraction of the cost, using SLA or SLS printing (Formlabs white paper). The same paper says lead times are often cut by up to 90-95%.
Ultimaker puts the gap in per-tool terms: printed tools usually cost around $10 to produce, while traditional methods can easily cost over $1,000 for the same part (Ultimaker). Treat both as vendor claims. Your own cost depends on the printer, the material, the print time and the labour involved.
Beyond price, printing changes how you work:
- You get a first result in hours, so you can test the tool on the real part straight away.
- A revision means editing the model and printing again, not ordering a new tool.
- Replacement parts and shared designs are easy to produce, even at other sites.
The shared-design point comes from Ultimaker, which says once a design is final it is easy to print a replacement or send the file to other locations around the world.
Real examples from production lines
Ultimaker’s page lists four printed tools that are used in production. They show how different the requirements can be from one job to the next.
- Ford, emblem jig: engineers at the Cologne pilot plant hook a tool on the rear of the car to position badges. It is printed in Tough PLA, strong yet soft enough to avoid scratching, and magnets sit in added holes to hold it in place.
- Volkswagen Autoeuropa, wheel tool: a jig that guides a wheelgun into the wheel without scratching the rim. It was printed in multiple parts so a damaged section can be replaced quickly, and PLA is enough because the forces are low.
- eBike pedal fixture: a tool that fits around the pedal and grabs the hard-to-reach nut so a drill can mount it in seconds. Tools like this are usually printed in polycarbonate for strength and rigidity.
- Ultimaker, sliding block fixture: a pressure fixture used to assemble the printers’ own sliding blocks, printed in nylon with 30% glass fiber plus a soft flexible TPU to protect the part.
All four are described by Ultimaker, so read them as the maker’s own examples rather than independent tests.
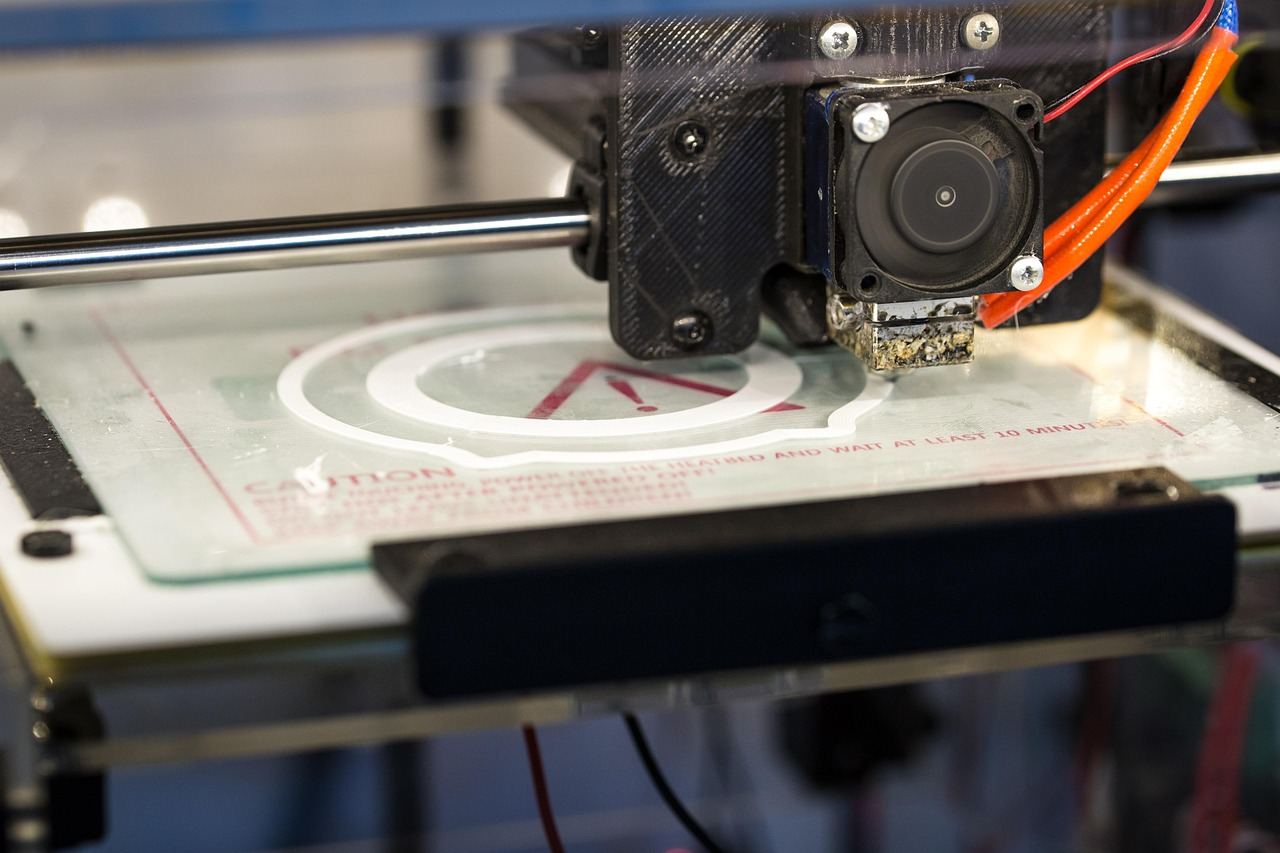
Choosing a material for the tool
Match the material to the load, the heat and the surface that the tool touches. Ultimaker states that factory jigs and fixtures might need to withstand high stress or temperature, which is why the choice matters (Ultimaker).
The examples above suggest a simple ladder:
- Low-force guides and positioning aids: PLA, as in the wheel tool.
- Contact with painted or finished surfaces: a tough but softer material such as Tough PLA, or a flexible TPU pad.
- High rigidity and strength: polycarbonate, or glass-filled nylon for heavier pressing work.
For metalworking, Formlabs’ white paper lists a case study of welding jigs printed in Rigid 10K resin and another of turning workholding printed in Nylon 12 powder (Formlabs white paper). Its applications page describes Rigid 10K as ultra-stiff, heat resistant and glass-filled (Formlabs manufacturing aids). Check temperature limits against your own process before trusting any resin or filament near a weld.
A neat trick from Ultimaker: use a different colour on the outside of a part, and the inner colour shows when the tool is worn and ready to be replaced.
A practical workflow from part to tool
Formlabs outlines a short loop that works for most shop-floor aids. It is the same whether you print in resin, powder or filament.
- Model it. Build the tool in CAD, or reverse engineer it with 3D scanning.
- Print it. Upload the design and print the tool in just a few hours.
- Finish it. Wash and cure SLA parts or depowder SLS parts, then add further processing if needed.
- Test and iterate. Try it on the real part, adjust the model and print again.
Finishing steps differ by process, and the guide to post processing 3d printed parts covers them in more detail.
Formlabs says in-house printing lets you create custom jigs and fixtures within a day, run tests, tweak the design and print again, and its page speaks of custom tooling within 24 hours (Formlabs manufacturing aids). Real turnaround will depend on your queue and part size.
Design habits that make printed tools last
Printing lets you design the tool around the part, not around what a mill can reach. Formlabs’ guide lists several habits worth copying:
- Take dimensions from CAD files, caliper measurements or 3D scans of the parts and equipment.
- Add numbers, names, dates and other labels into the geometry, which costs nothing extra.
- Reduce the number of parts, since multi-part tools can often be printed in one piece.
The opposite can also be sensible. The wheel tool above was deliberately split into sections so a damaged one can be replaced alone, saving time and material.
Before you finalise a model, read the 3d printing design rules for your process, because wall thickness, orientation and tolerances all affect how a tool behaves under load.
Frequently asked questions
What is the difference between a jig and a fixture?
Show answer
A jig holds the workpiece and guides the tool. A fixture holds the workpiece in place during a secondary process, as Formlabs defines them. Many tools do both jobs.
How long does it take to print a jig?
Show answer
Formlabs says printing takes a few hours, and a full cycle of print, test and tweak can fit within a day (Formlabs manufacturing aids). Large or dense parts will take longer.
Can printed jigs handle welding or machining?
Show answer
Formlabs’ white paper lists case studies of welding jigs in Rigid 10K resin and turning workholding in Nylon 12 powder (Formlabs white paper). Test your own tool at the real temperature and load before production use.
Do I need to be a CAD expert?
Show answer
Not necessarily. The design can start from CAD designs, caliper measurements or 3D scans of the parts and equipment (Formlabs). Simple blocks and guides are a sensible first project.
Are printed tools really cheaper?
Show answer
Ultimaker says printed tools usually cost around $10, against over $1,000 for the same part by traditional methods (Ultimaker). Those are vendor figures, so compare them with your own quotes.